Angular 中创建动态组件主要有两种方式:ViewContainerRef 创建动态组件和使用 Angular CDK 动态创建。这里总结记录一下平常开发中常用的使用 ViewContainerRef 创建组件。
写在前面
自从 Ng15 版本更新以后,「独立组件」变成稳定版了,于是体验了一下,发现对于日常写一个小的 Ng 的 demo 是真的友好,不需要再导入 module 中了。
- 创建独立组件、指令的 cli 命令
- 项目可以独立引导一个组件启动
main.ts
1
2
3
4
5
6
7
8
9
10
11
| import { enableProdMode } from '@angular/core';
import { bootstrapApplication } from '@angular/platform-browser';
import { AppComponent } from './app/app.component';
import { environment } from './environments/environment';
if (environment.production) {
enableProdMode();
}
bootstrapApplication(AppComponent)
|
ViewContainerRef 动态创建组件、模板
ViewContainerRef 表示可以将一个或多个视图附着到组件中的容器。
官网更详细解释:ViewContainerRef
常用的方法:
- createComponent()
实例化一个 Component 并把它的宿主视图插入到本容器的指定 index 处。
返回值:包含组件实例和宿主视图的新 ComponentRef 。
- createEmbeddedView()
实例化一个内嵌视图,并把它插入到该容器中。
返回值:新创建的视图的 ViewRef 实例。
- clear()
销毁本容器中的所有视图。
Demo:
html
1
2
3
4
5
6
7
8
9
10
11
12
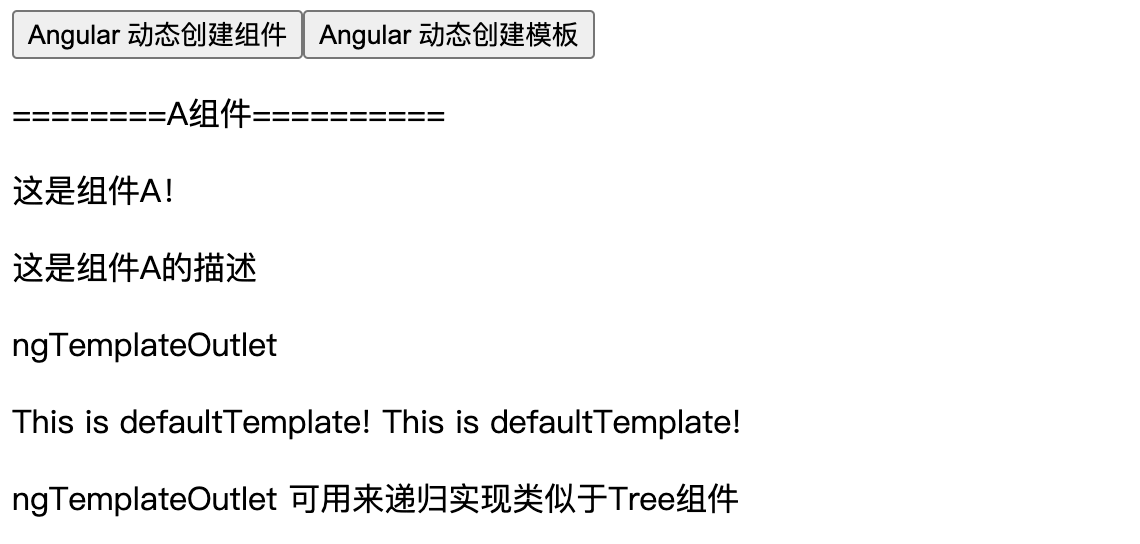
| <button (click)="createComponent()">Angular 动态创建组件</button>
<button (click)="createTemplate(template)">Angular 动态创建模板</button>
<ng-template #inputTemplate let-default let-title="title" let-desc="desc">
This is inputTemplate!
<p>default: {{default}}</p>
<p>title: {{title}}</p>
<p>desc: {{desc}}</p>
</ng-template>
<ng-container #container></ng-container>
<ng-template #template>
<div>这是Template</div>
</ng-template>
|
ts
1
2
3
4
5
6
7
8
9
10
11
12
13
14
15
| @ViewChild('container', { read: ViewContainerRef }) container!: ViewContainerRef;
title = 'standalone-component';
condition: boolean = false;
createComponent() {
this.container.clear();
const componentRef = this.container.createComponent(ComponentAComponent);
componentRef.instance.title = '这是组件A!';
componentRef.instance.desc = '这是组件A的描述';
console.log(componentRef);
}
createTemplate(template: TemplateRef<any>) {
this.container.clear();
const templateRef = this.container.createEmbeddedView(template);
console.log(templateRef);
}
|
ngTemplateOutlet 指令
根据一个提前备好的 TemplateRef 插入一个内嵌视图。
使用场景:
-
复用组件中的视图
-
自定义组件,使其有更大的扩展性
两种用法:*ngTemplateOutlet [ngTemplateOutlet]
写法虽然不一样,但是作用完全相同,看各人喜好和习惯
子组件如果有传入的自定义模板,则使用自定义模板,否则使用默认模板:
子组件:
html
1
2
3
4
5
6
7
| <ng-container *ngTemplateOutlet="inputTemplate ? inputTemplate : defaultTemplate;context: context"></ng-container>
<ng-container [ngTemplateOutlet]="inputTemplate ? inputTemplate : defaultTemplate" [ngTemplateOutletContext]="context"></ng-container>
<ng-template #defaultTemplate>
This is defaultTemplate!
</ng-template>
|
ts
1
2
3
4
5
6
7
8
9
10
11
12
13
14
15
16
17
18
19
20
21
| import from '@angular/common';
import from '@angular/core';
@Component(
)
export class ComponentAComponent implements OnInit
@Input()
inputTemplate?: TemplateRef<any>;
constructor()
ngOnInit(): void
}
|
context 为传入模板的上下文对象,在上下文对象中使用 $implicit 这个 key 会把对应的值设置为默认值
父组件:
1
2
3
4
5
6
7
8
| <app-component-a [inputTemplate]="inputTemplate"></app-component-a>
<ng-template #inputTemplate let-default let-title="title" let-desc="desc">
This is inputTemplate!
<p>default: {{default}}</p>
<p>title: {{title}}</p>
<p>desc: {{desc}}</p>
</ng-template>
|
ngComponentOutlet
实例化单个 Component 类型,并将其宿主视图插入当前视图。NgComponentOutlet 为动态组件创建提供了一种声明式方法。
html
1
| <ng-container *ngComponentOutlet="component"></ng-container>
|
ts
1
2
3
4
5
| component?: any;
ngOnInit(): void {
this.component = ComponentAComponent
}
|